Wednesday 2 November 2016

Paper Bow Tutorial B

In this tutorial we'll show you how tho create the second style of bow in the kit which comes as two larger bows and eight small bows with coordinating ribbon strips.
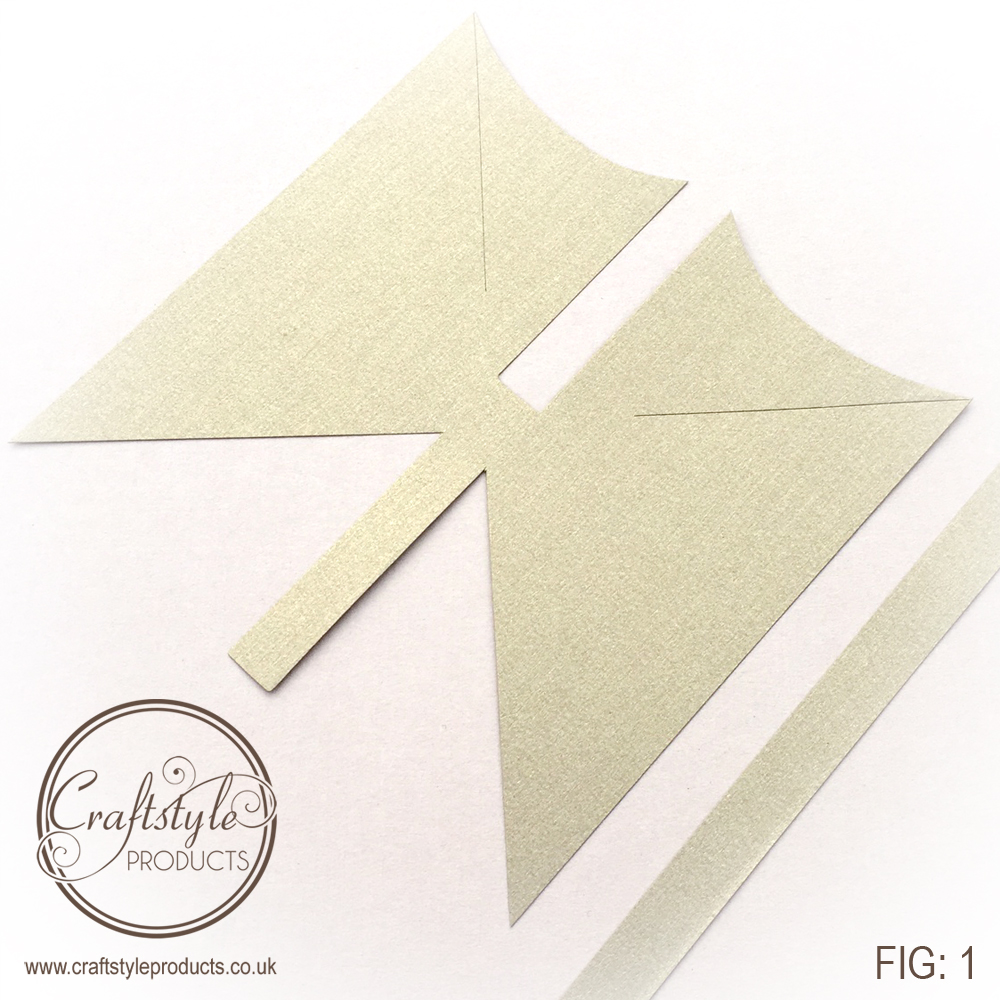
Firstly pop out the size of bow you want to create and either a thick ribbon strip for the large bow or thinner strip for the smaller bow. FIG: 1


Take the top bow part and fold one of the tab ends into the middle securing with glue or strong double sided tape. FIG: 2


Repeat with the other side securing in the middle FIG: 3


You now have the top bow complete ready to stick on to the back bow. FIG: 4


Stick the  top bow onto the back bow with glue or tape and. FIG: 5


Using the center piece starting from the back of the bow wrap around the top and bottom bow. FIG: 6


Keep wrapping the center piece around the middle and finish off neatly on the back of the bow. FIG: 7


There you have your finished Bow FIG: 8


All you have to do now is attach the bow to your ribbon strip and use on your cards or paper craft projects. FIG: 9

Paper Bow Tutorial A

Lets look at how to use our paper bow sheets that will feature on our Show on Create & Craft at 1pm on Friday 4th November. In  the kit you will get 1 sheet of large bows, 1 sheet of small bows and one sheet of ribbon strips. Each sheet comes in 9 different colours, Cappucccino Shimmer, Gold Texture, Silver Shimmer, Gold Shimmer, Gold Dust Shimmer, White Irridescent, Black Linen, Manilla and Beige Parchment.

Add caption
The kit will let you make 108 bows to add to your crafting projects.


First of all we'll look at the large bow. For this just pop one of the larger bows out of the sheet and also cut one of the thinner ribbon strips from it's sheet. FIG:1


Firstly take each of the bottom two corners and fold up into the middle securing with either glue or strong double sided tape. FIG:2


Do the same with the top two corners, folding them into the middle keeping the paper nice and curled. FIG 3


Then wrap the attached center strip around the bow again securing with glue or double sided tape. FIG 4


 Keep wrapping around and finish off on the back of the ribbon. FIG: 5


Apply the bow to the ribbon strip and that is all there is to it. FIG 6. Use the bows and ribbon on your paper crafting projects. We'll be back later to show you how to create the other style of bow that you get in the kit.